
Lead chimney flashing installation and replacement.
Symptoms & warning signs
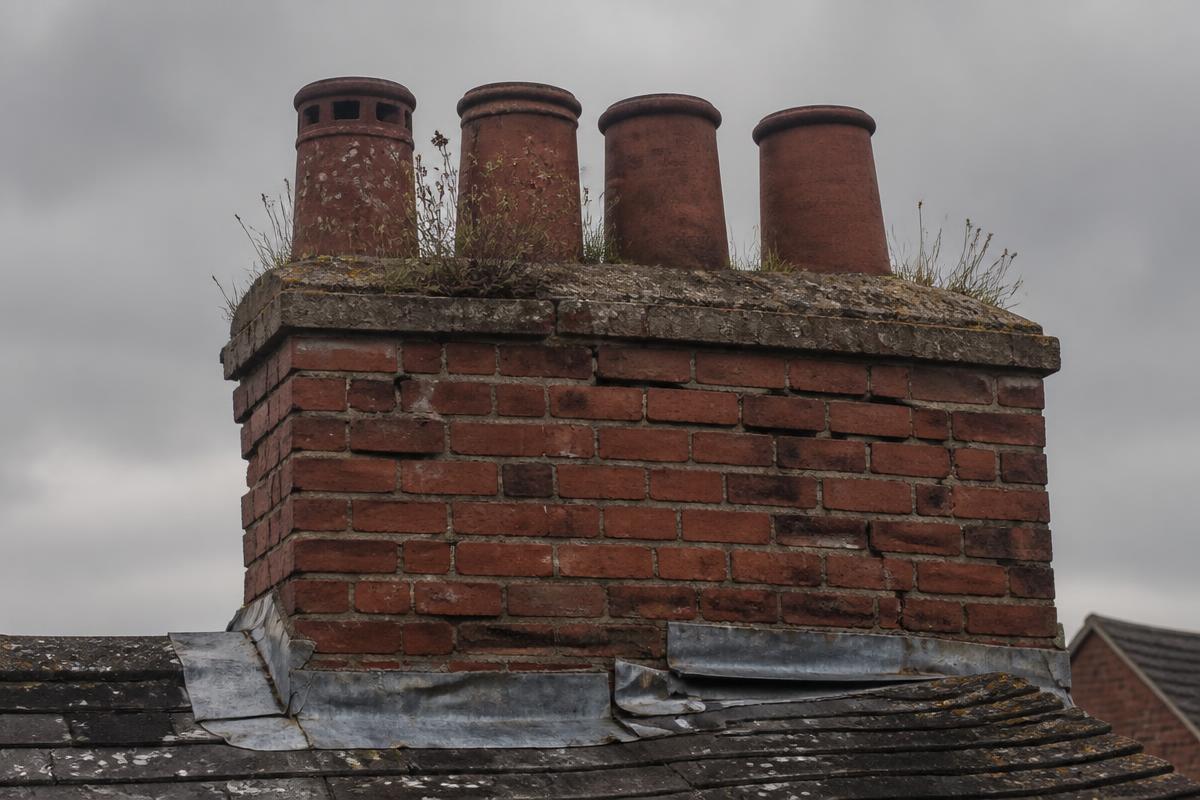
- Damp appearing on the chimney breast only after heavy or wind-driven rain
- Visible gaps between the lead and the brickwork
- Mastic or cement smeared over the flashing as a previous 'repair'
- Lead that has split, torn or corroded to a chalky white surface
- Flashing lifted out of the mortar joint after high winds
- Staining on the roof covering running away from the stack
Inspection & diagnosis
Every quote begins with an inspection. Where a roof is inaccessible, complex or storm-damaged, we can carry out a drone inspection to capture imagery and annotated findings before recommending works.
Typical scope of work
- Removal of failed lead, mastic and cement fillets
- Raking out and preparation of the mortar joints to take new lead
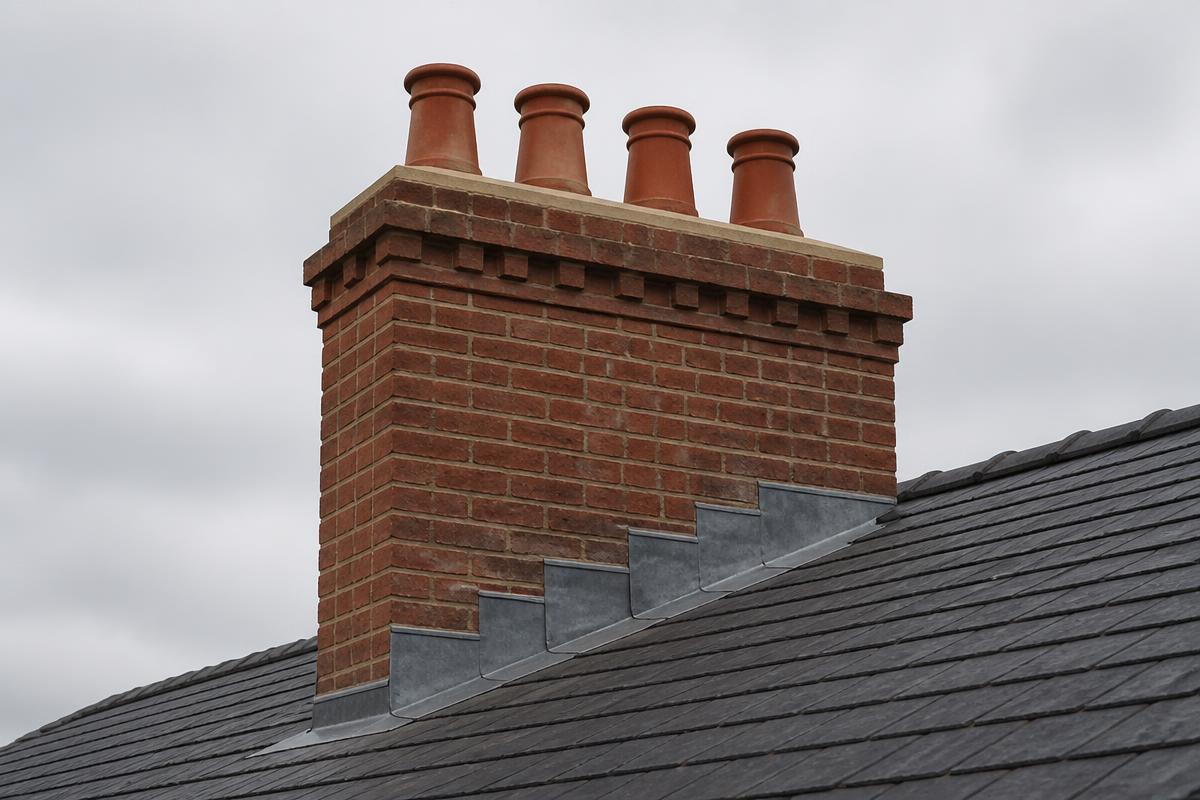
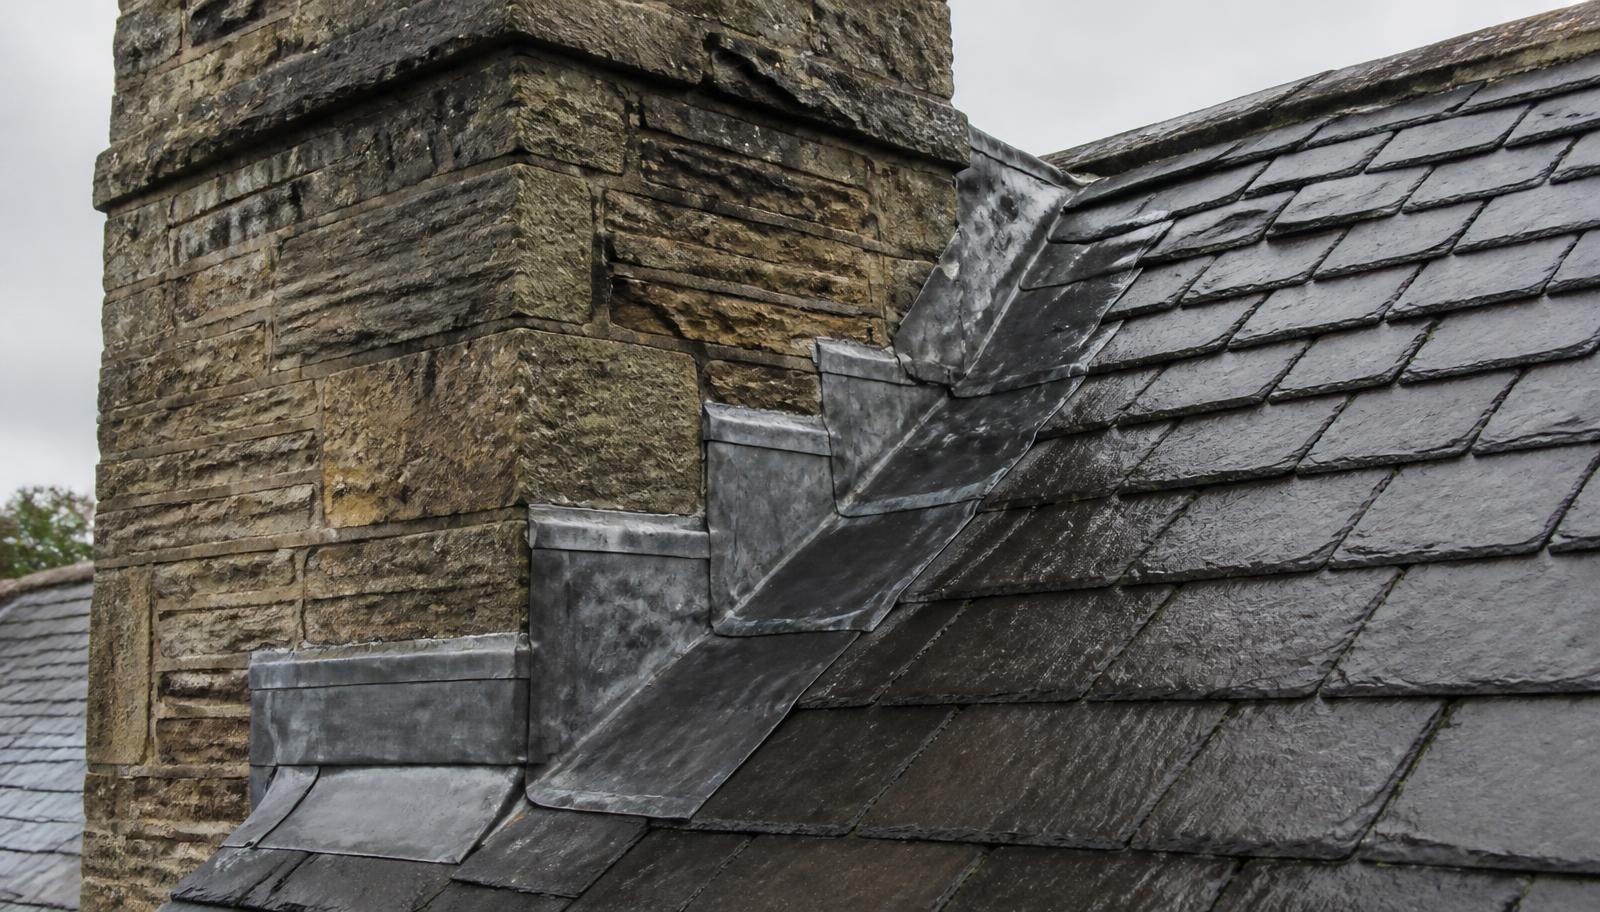
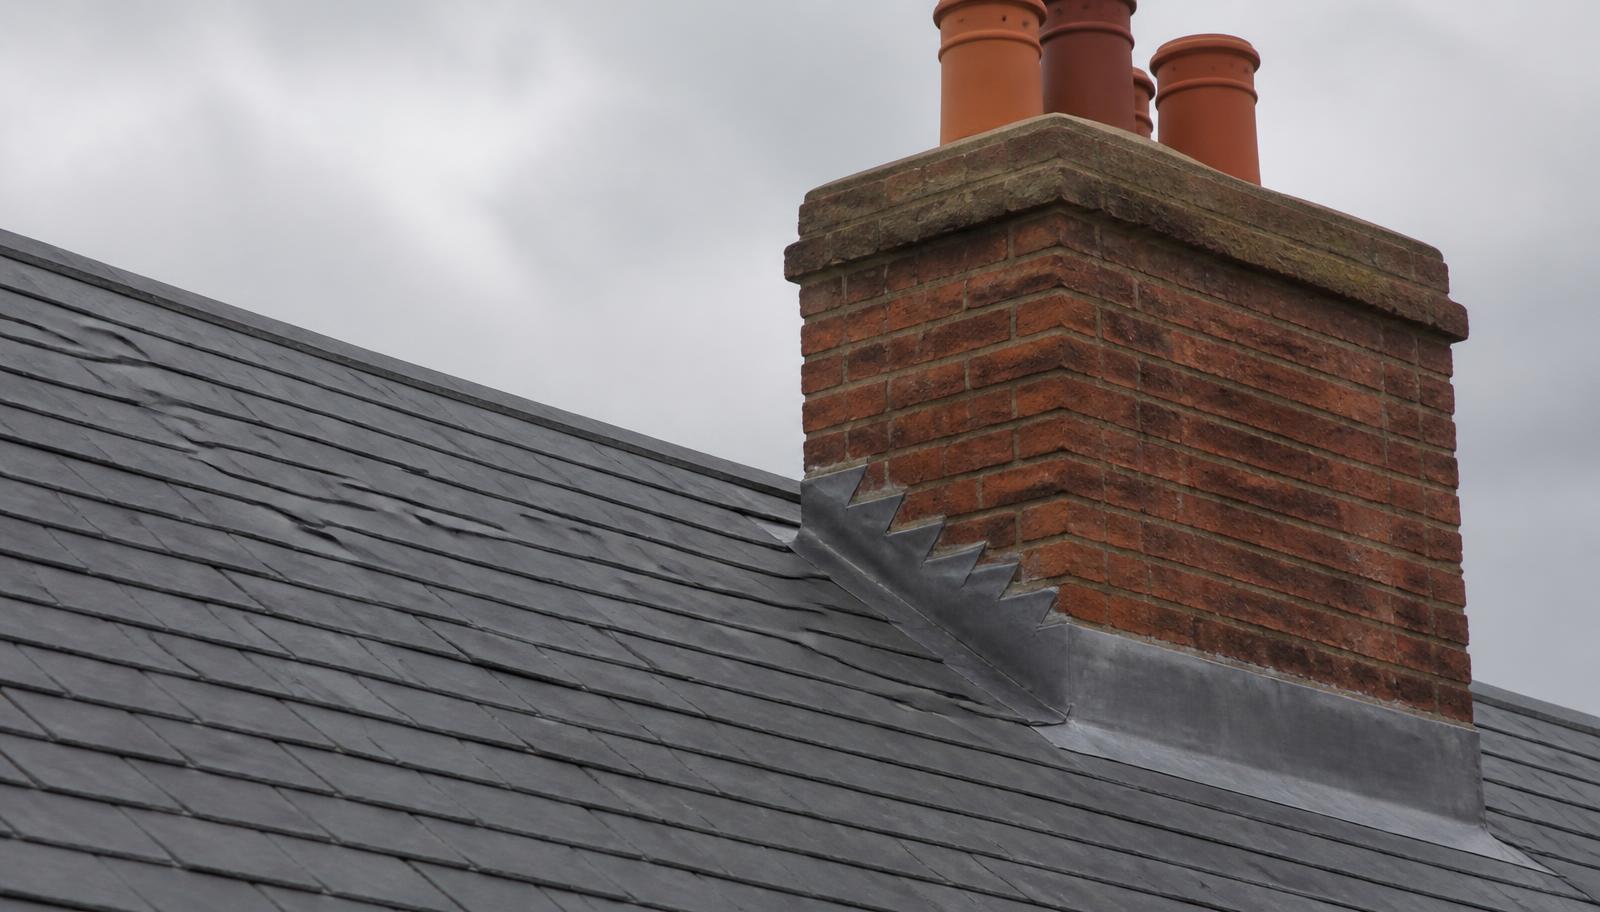
- Front apron, stepped side flashings, soakers and rear back gutter formed in the correct lead code
- Lead dressed to the roof profile — bossed or welded rather than folded and sealed
- Wedging and repointing into the joints to secure the flashing mechanically
- Patination oil applied to the finished lead to prevent staining of the brickwork below
Timescale
Most chimney flashing replacements are completed in one to two days depending on the stack size, roof pitch, number of faces and access. Scaffolding, where needed, adds time before the start.
Guarantee & aftercare
Leadwork carries our written workmanship guarantee. We note the lead code used, and the finished detail is photographed from the roof so you can see the work you are paying for.
Project evidence
Every job is photographed before, during and after the work, so you can see what was found, what was done and what it looks like finished — including the parts of the roof you cannot see from the ground. Those photographs are shared with you and, with permission, may be used as a case study.