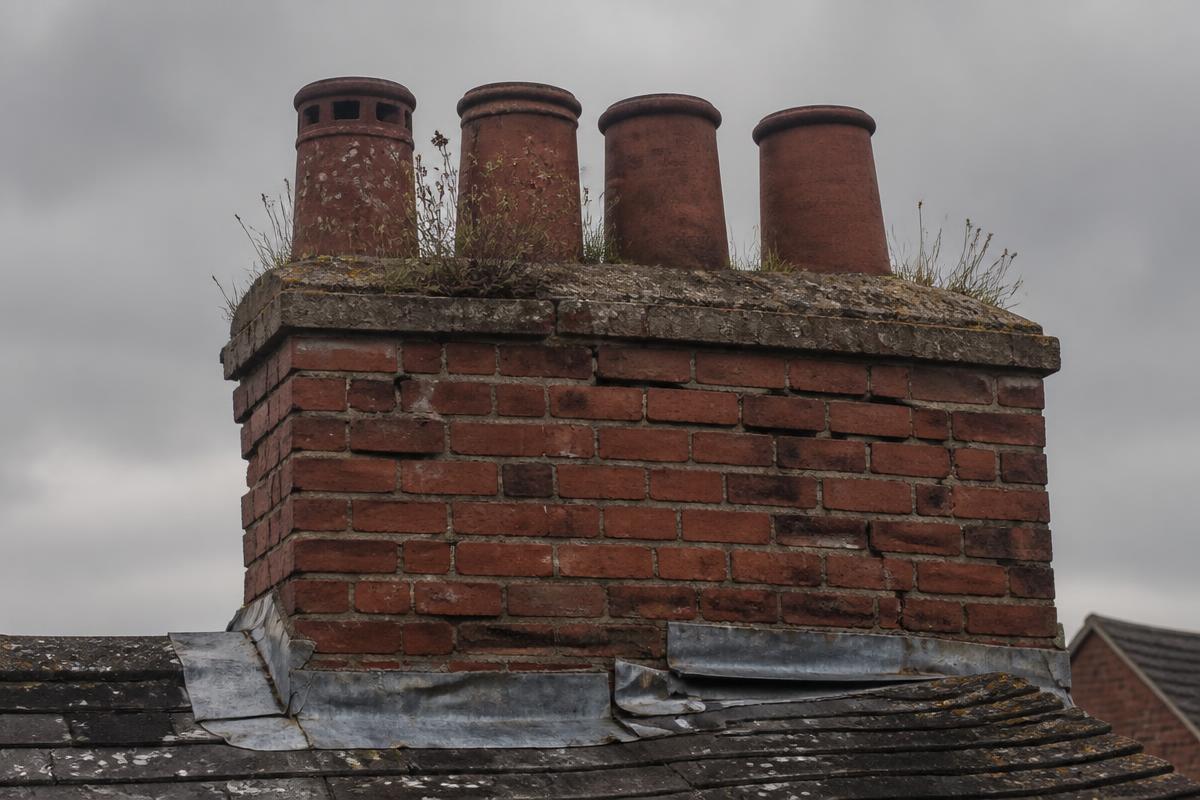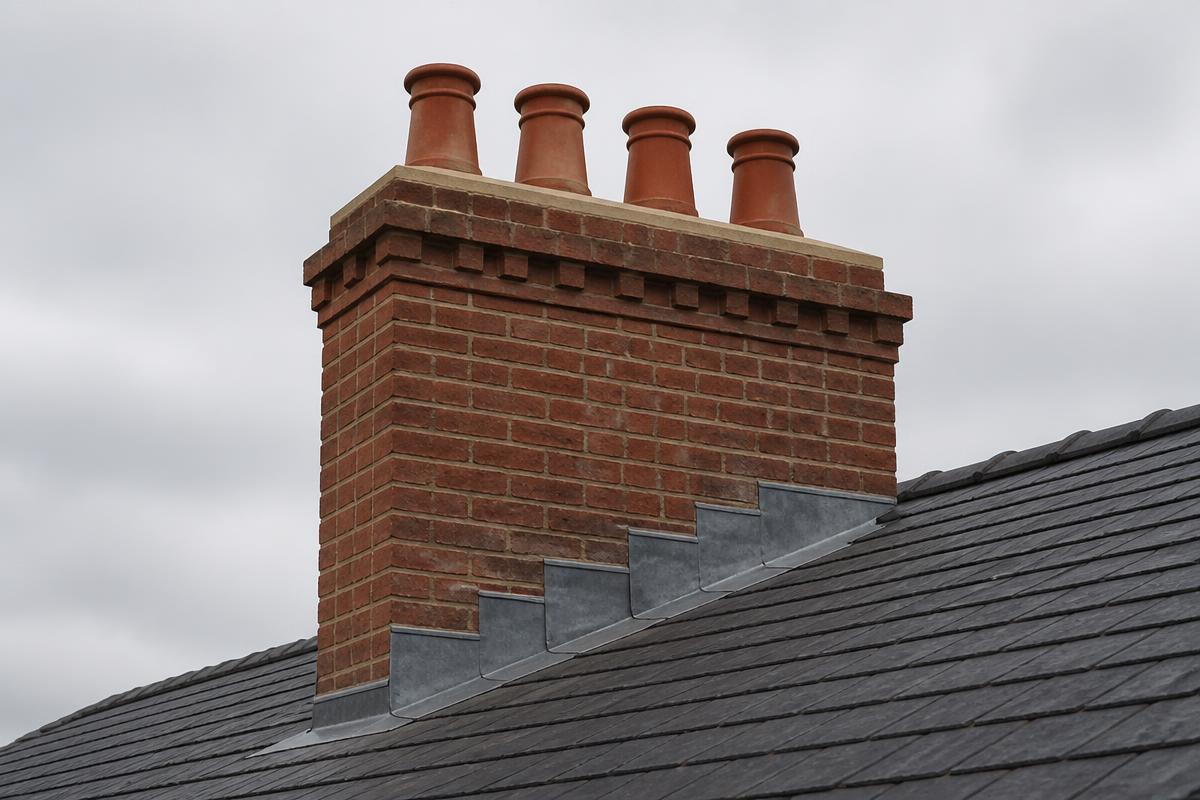

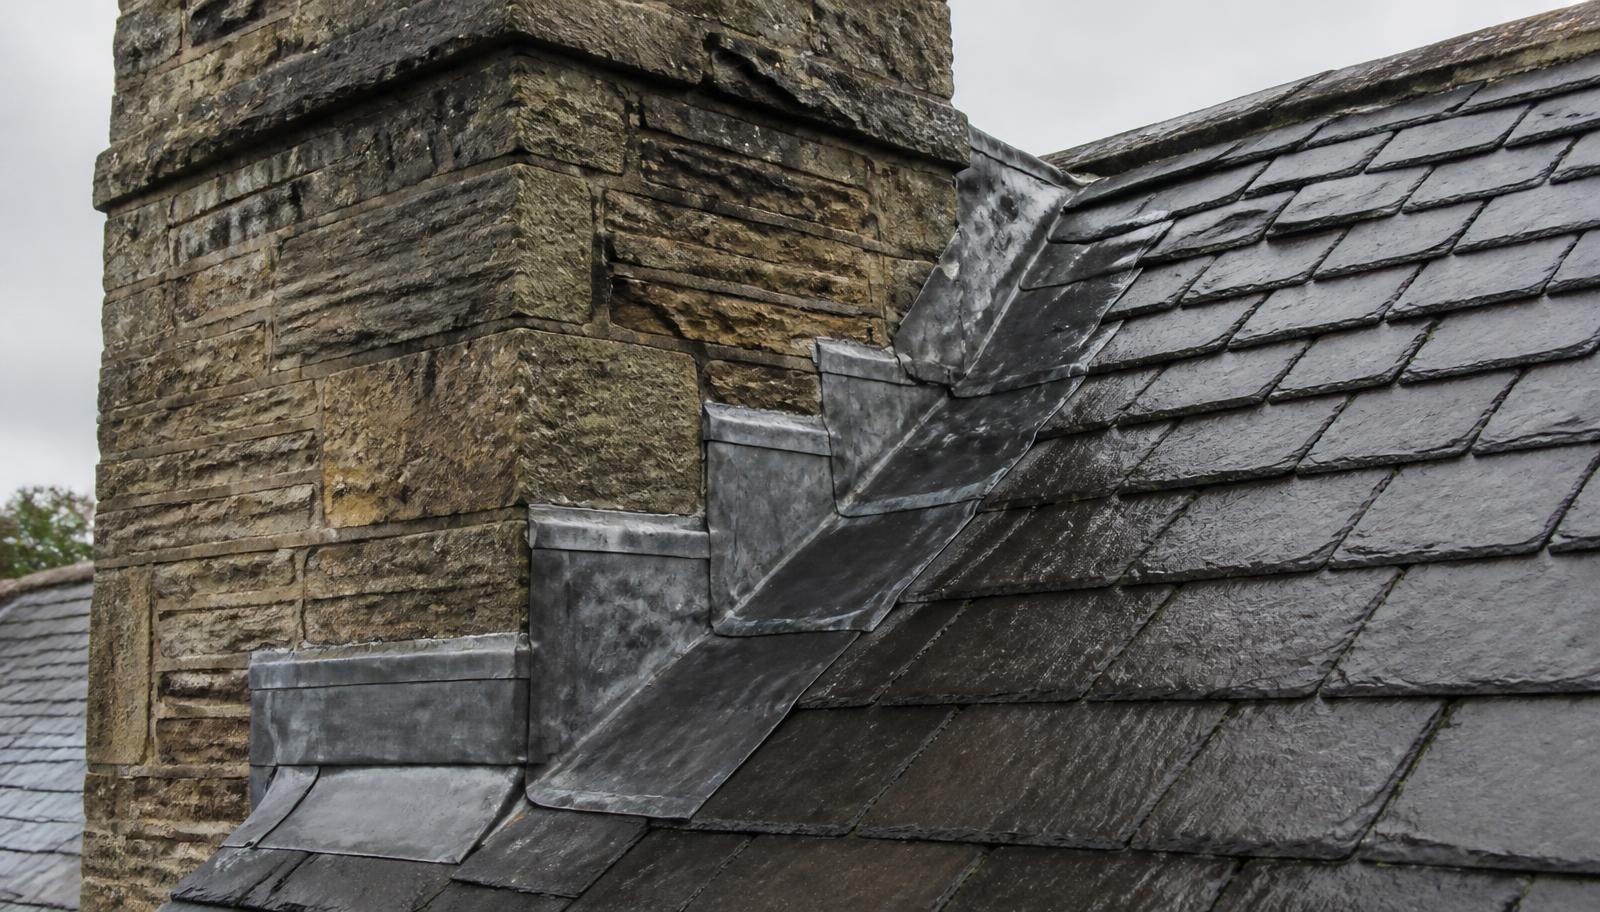
Lead valley installation and replacement to correct code and detail.
Symptoms & warning signs
- Damp appearing in the ceiling below where two roof slopes meet
- Debris, moss or leaves collecting and damming the valley
- Splits running across the valley lead, often at a fixed point
- Cement or mortar used to fill the edges of the valley
- Slates or tiles cut untidily into the valley leaving inadequate cover
- Rust staining or corrosion where an old metal valley liner has failed
Inspection & diagnosis
Every quote begins with an inspection. Where a roof is inaccessible, complex or storm-damaged, we can carry out a drone inspection to capture imagery and annotated findings before recommending works.
Typical scope of work
- Stripping back of the roof covering along both sides of the valley
- Removal of the failed valley liner and inspection of the valley boards beneath
- Replacement of rotten valley boards and tilting fillets
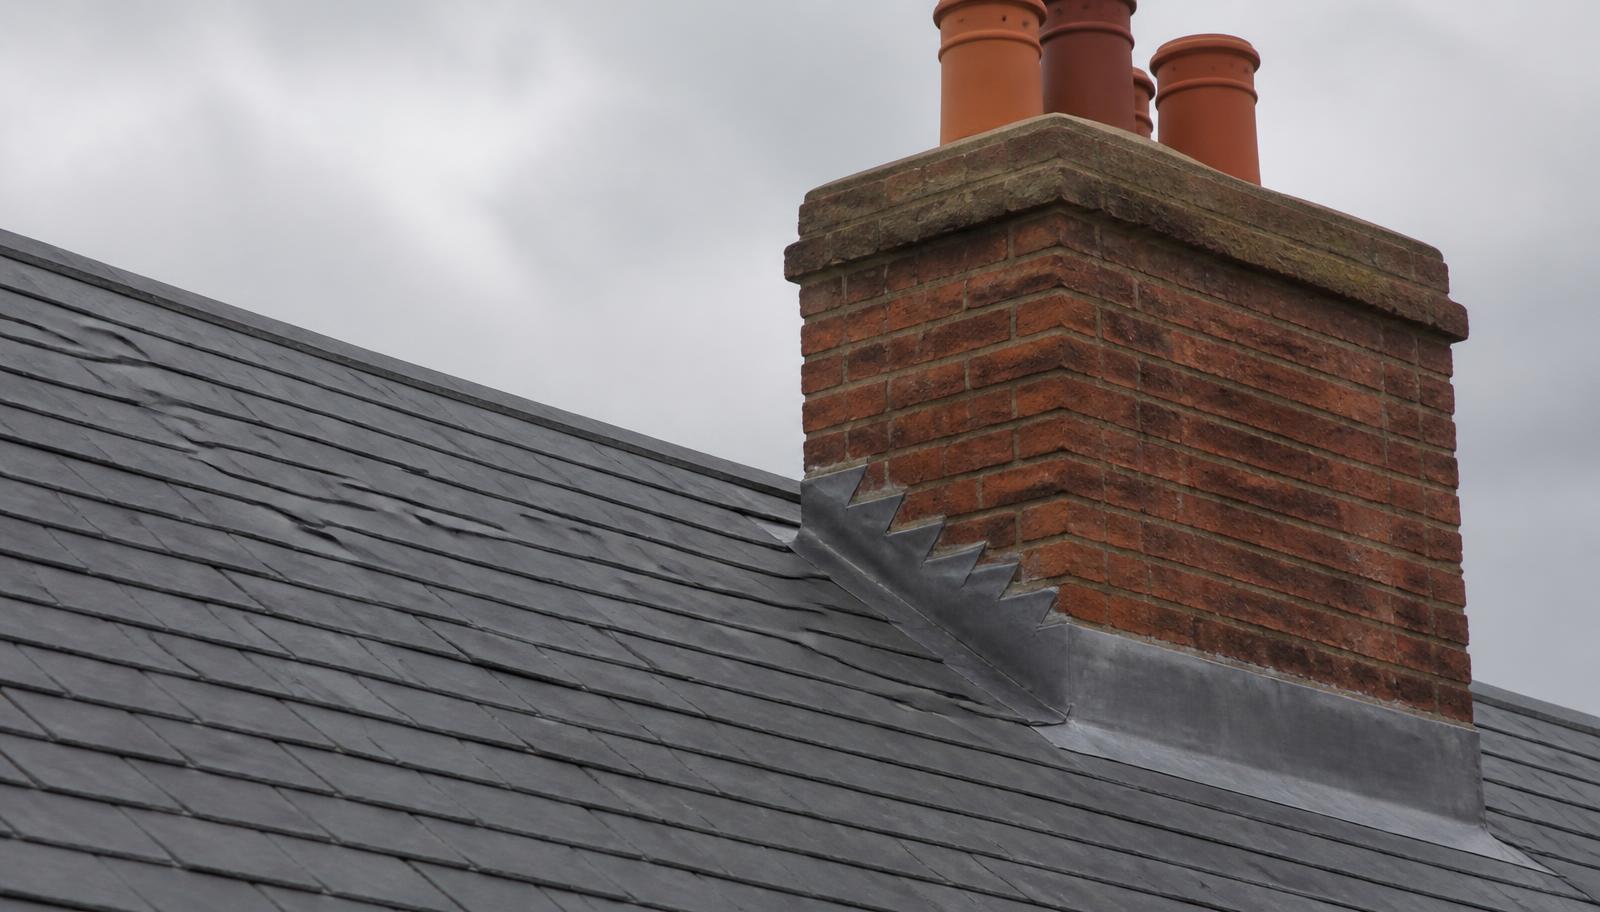
- New underlay and correct lead code laid in appropriate sheet lengths with laps
- Clips, welts and fixings allowing the lead to expand without splitting
- Roof covering neatly re-cut and re-laid to the valley with correct margin
- Patination oil applied to the finished lead
Timescale
A single domestic valley is typically a two to three day job including stripping back and re-laying the covering. Multiple valleys, longer runs or heritage detailing take proportionally longer, and access will usually need scaffolding.
Guarantee & aftercare
Valley work carries our written workmanship guarantee. Aftercare is simple: keep valleys clear of leaves and moss, and we will flag it at any subsequent inspection.
Project evidence
Every job is photographed before, during and after the work, so you can see what was found, what was done and what it looks like finished — including the parts of the roof you cannot see from the ground. Those photographs are shared with you and, with permission, may be used as a case study.